How to Create a Shop & Configure Vendor Settings
Establishing your optical shop on Eyewearfarm connects your eyewear collections, spectacle frames, and lab equipment directly with verified opticians, boutique practices, and wholesale buyers across the globe. You can create an optical shop through two straightforward onboarding workflows: registering directly as a new vendor or upgrading an existing customer account. Once approved by our compliance team, you can customize your store identity with your official optical brand logos, banners, and policies.
Two Flexible Ways to Start Selling:
• Pathway 1 (New Sellers): Direct sign-up on the registration page by selecting "I am a vendor".
• Pathway 2 (Existing Customers): Upgrading an existing buyer account via the "Become Vendor" application with business KYC documents.
Both pathways unlock full vendor capabilities, product publishing, and automatic Shippo postage calculation once approved by Eyewearfarm administration.
Step 1
Pathway A: Register Directly as a New Vendor
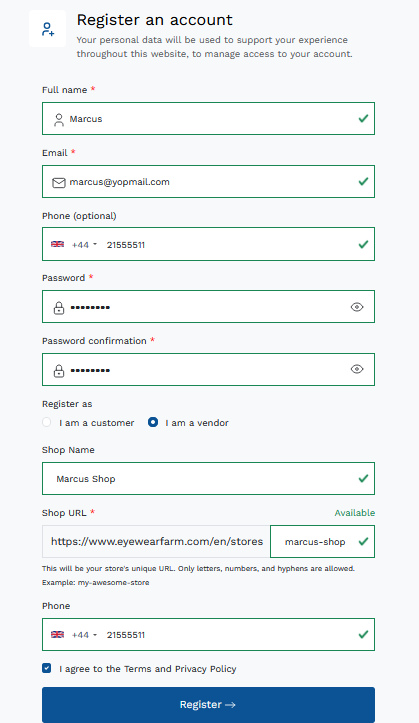
If you are joining Eyewearfarm as a new seller, head directly to the registration page at https://www.eyewearfarm.com/register:
- Personal Account Information:
- Full name: Enter your primary account manager or director name.
- Email: Enter your official business email address (used for login and dispatch notifications).
- Phone (optional): Enter your personal or primary dial contact with country code (e.g., +44 21555511 ).
- Password & Confirmation: Create a strong, secure password.
- Account Type Selection: Under Register as, select the radio button: • I am a vendor. This automatically reveals the vendor store creation fields:
- Shop Details:
- Shop Name: Enter your official commercial trade or optical brand name (e.g., Marcus Store ).
- Shop URL: Enter your preferred unique URL identifier. The system builds your custom shop address: https://www.eyewearfarm.com/stores/marcus-store . (Only letters, numbers, and hyphens allowed).
- Shop Phone: Enter your official customer support or optical practice phone number with international dial code (e.g., +44 2037332315 ).
- Check ✓ I agree to the Terms and Privacy Policy and click the blue Register → button.
Step 2
Pathway B: Upgrade an Existing Customer Account (Become Vendor)
If you already have a registered customer account on Eyewearfarm and wish to start selling your own optical collections, you can easily upgrade your account without creating a new login:
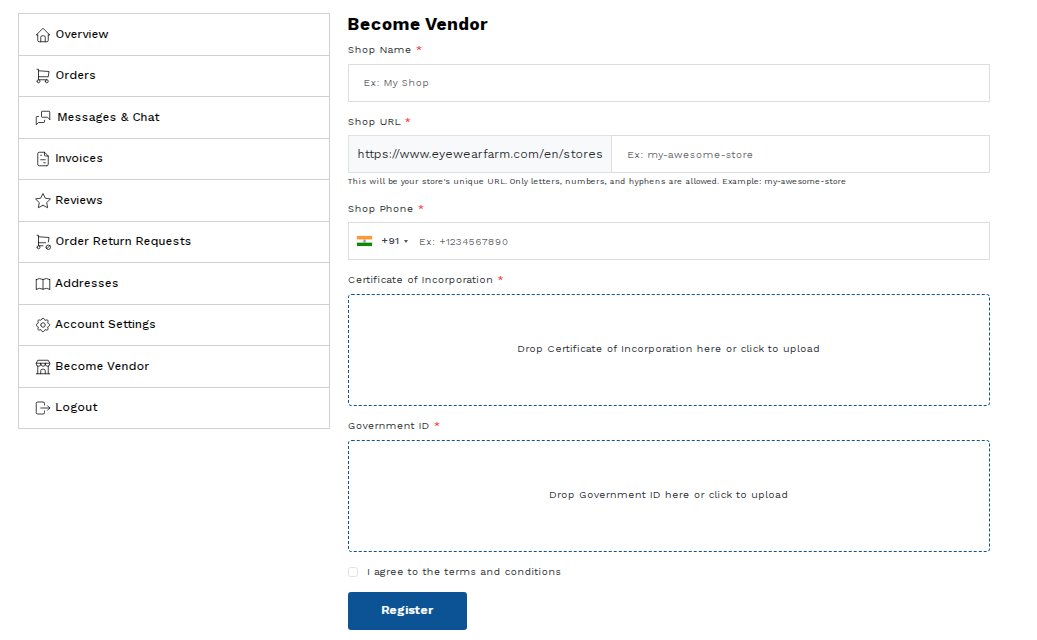
- Log in to your account and open your Customer Dashboard (https://www.eyewearfarm.com/customer/overview ).
- In the left navigation menu, click on Become Vendor.
- Complete the vendor verification application:
- Shop Name: Enter your brand or dispensary name (e.g., Marcus Store ).
- Shop URL: Enter your unique store slug (e.g., marcus for https://www.eyewearfarm.com/stores/marcus ).
- Shop Phone: Enter your business inquiry telephone number.
- Certificate of Incorporation (KYC Verification): Drag & drop or click to upload your company registration certificate or optical practice registration document (PDF, PNG, JPG).
- Government ID: Upload a valid government-issued photo ID (Passport, National ID, or Driving License) of the business owner or director.
- Check ✓ I agree to the terms and conditions and click Register.
Step 3
Admin Review & Store Approval
To ensure optical product safety, regulatory adherence, and buyer protection on Eyewearfarm, submitted store applications undergo quick administrator verification:
- Compliance Review: The Eyewearfarm administration team verifies your company incorporation certificate and business identity.
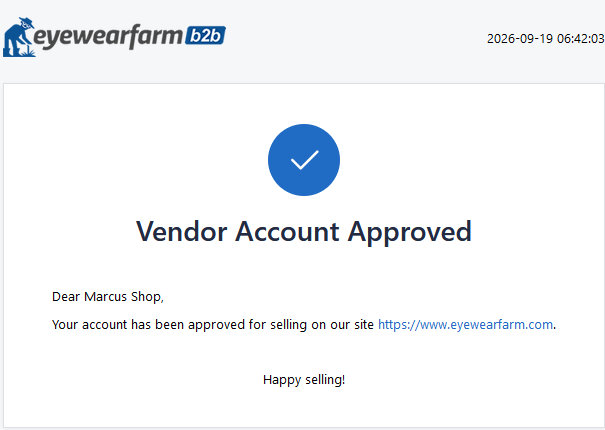
- Approval Notification: Once verified, your account status is updated to Active Vendor and an automated confirmation email is delivered to your inbox.
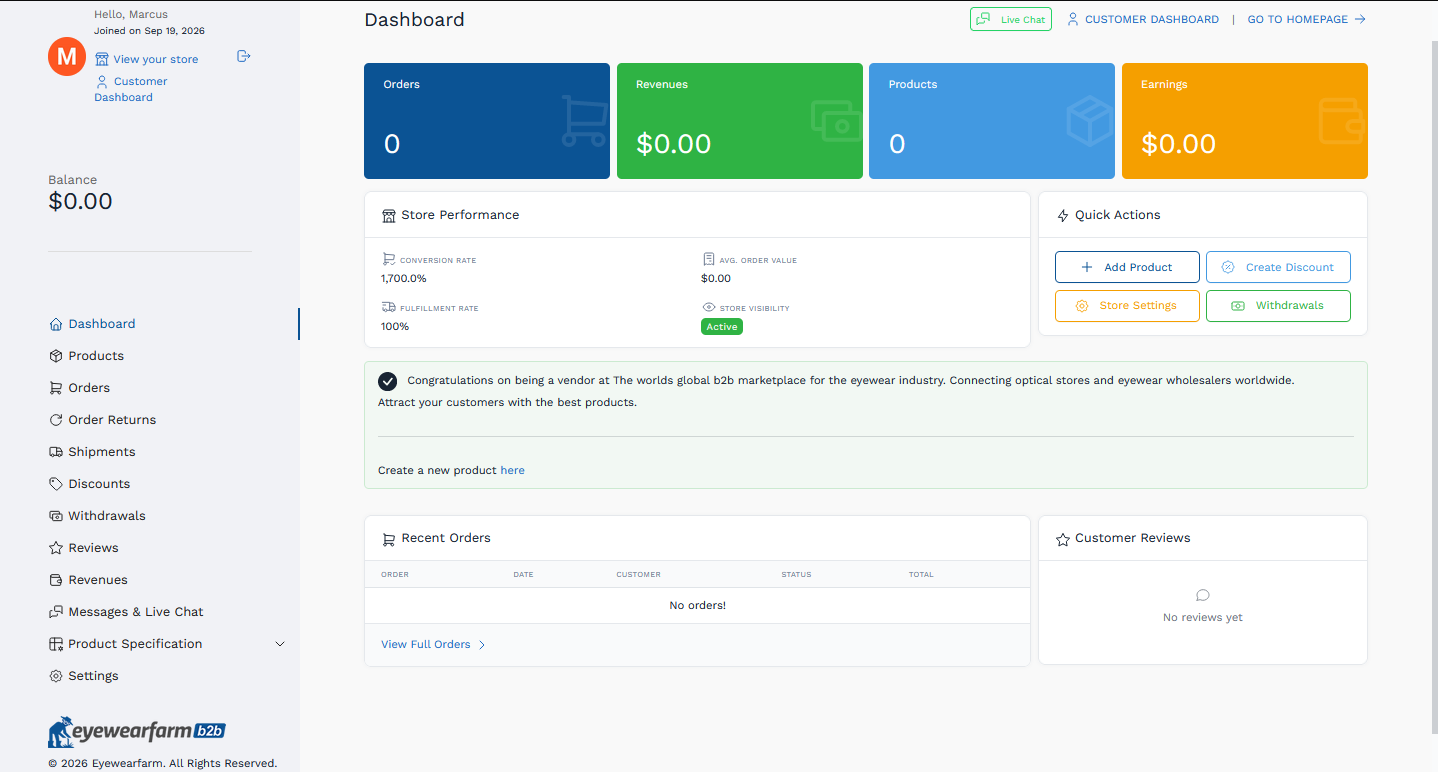
- Vendor Dashboard Access: Upon approval, your account menu gains the Vendor Dashboard shortcut, allowing you to access https://www.eyewearfarm.com/vendor/dashboard , manage incoming optical orders, track shipments, and add simple or variant products.
Step 4
Configure Store Profile, Branding & Visual Assets (Vendor Settings)
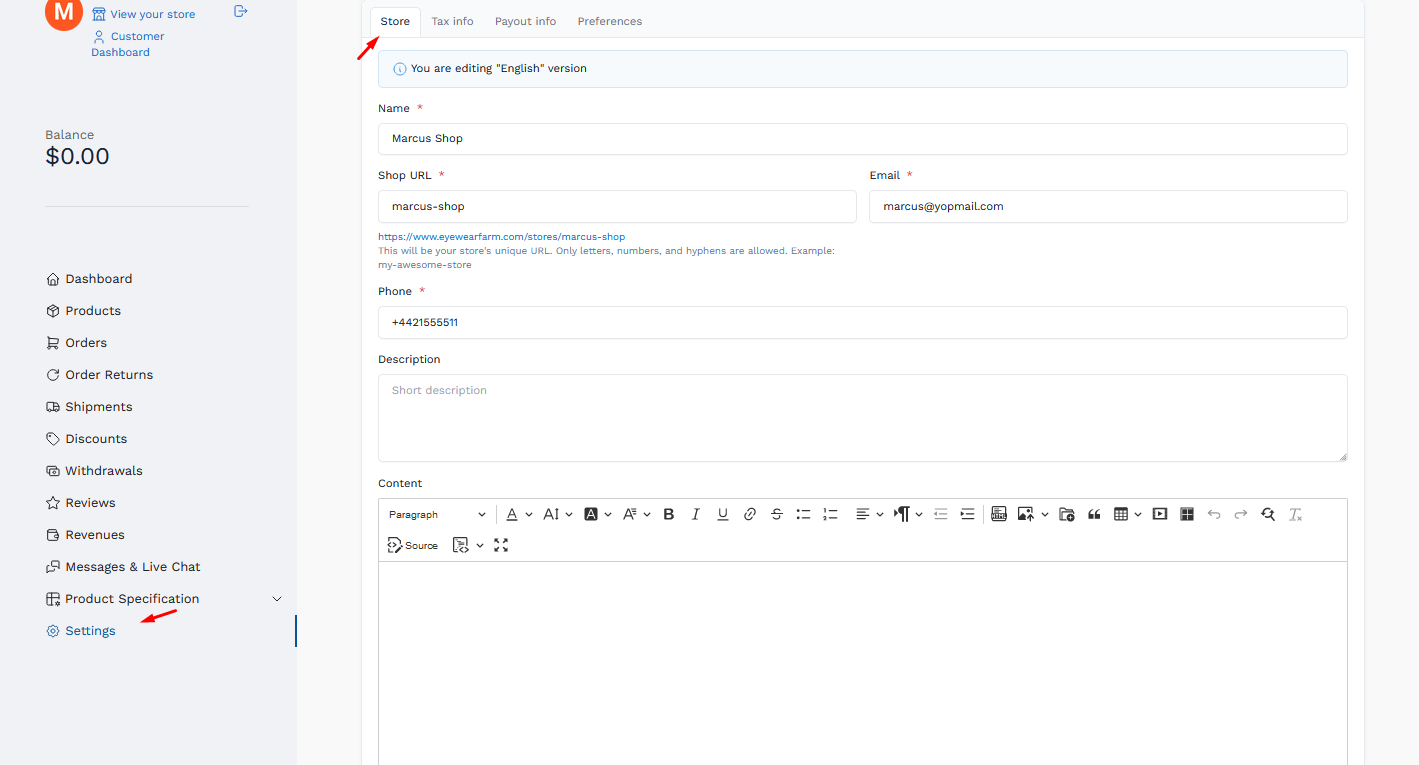
After your store is approved, personalize your public optical showcase so visiting opticians and buyers recognize your brand. Navigate to Vendor Dashboard → Settings (https://www.eyewearfarm.com/vendor/settings):
A. General Store Information & Brand Story:
- Name: Your primary storefront title (e.g., Marcus Store ).
- Shop URL: Unique slug ending (e.g., https://www.eyewearfarm.com/stores/marcus ).
- Email & Phone: Public buyer support contact channels.
- Description: A concise optical tagline (e.g., Premium British Designer Eyewear & Ophthalmic Metal Frames ).
- Content: Premium British Designer Eyewear & Ophthalmic Metal Frames | Sustainable, Handcrafted Acetate & Titanium Collections
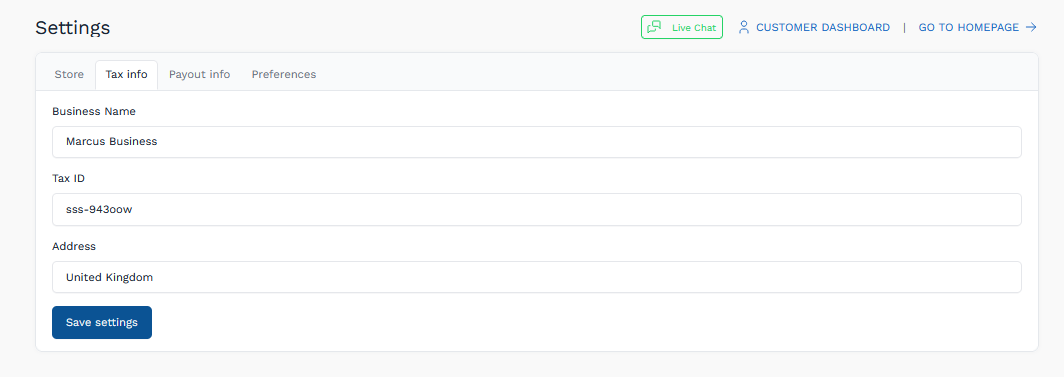
B. Tax Info:
- Tax Details: Enter your Address and Business Name.
- Company & Tax ID: Enter your registered company entity name and VAT / Tax ID for official B2B invoices.
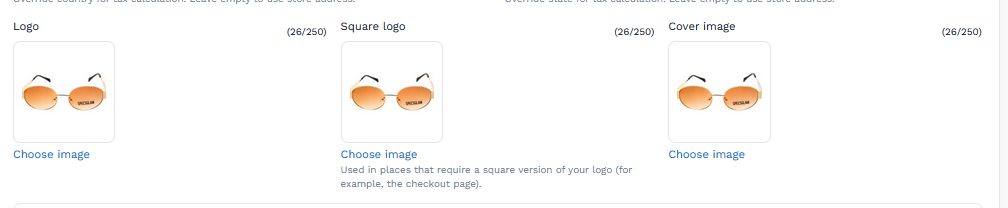
C. Store Branding & Visual Imagery (Crucial for Buyer Trust):
- Logo: Click Choose image to upload your horizontal brand logo. Displayed on your store header and PDF sales receipts.
- Square Logo: Upload a 1:1 aspect ratio square icon. Used across compact mobile navigation and customer checkout summaries.
- Cover Image: Upload a high-resolution panoramic banner - showcasing your optical showroom, craftsmanship, or seasonal eyewear campaign. This banner spans across the top of your public storefront.
D. Search Engine Optimization (SEO):
- In the Search Engine Optimize section, click Edit SEO meta to define your Google search title, meta description, and optical keywords.
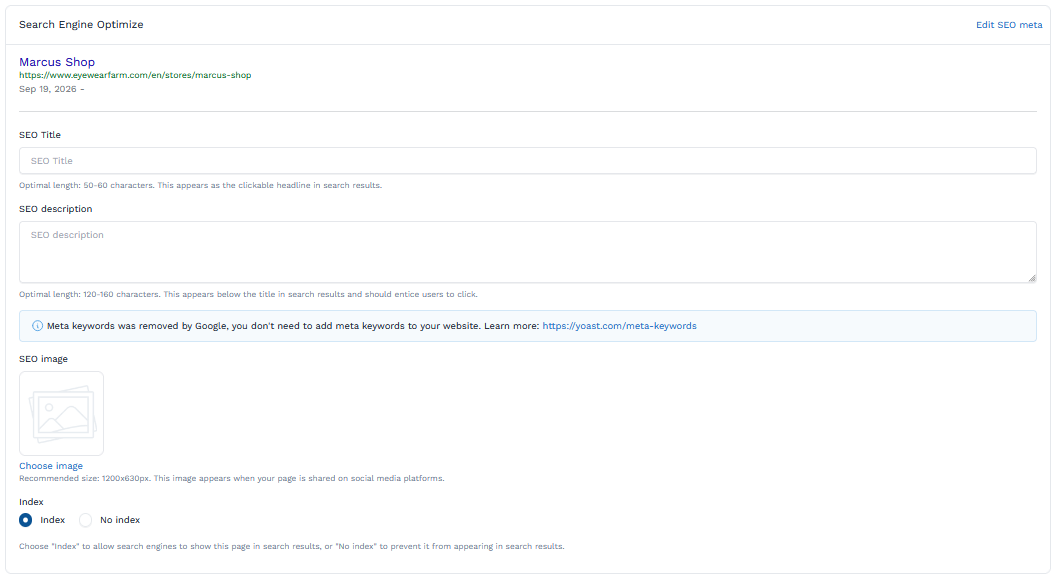
Click the blue Save (or Save & Exit) button at the bottom of the page to commit all branding updates.
Step 5
Preview Your Live Storefront & Begin Publishing Products
Your optical digital storefront is now live and ready to welcome trade buyers:
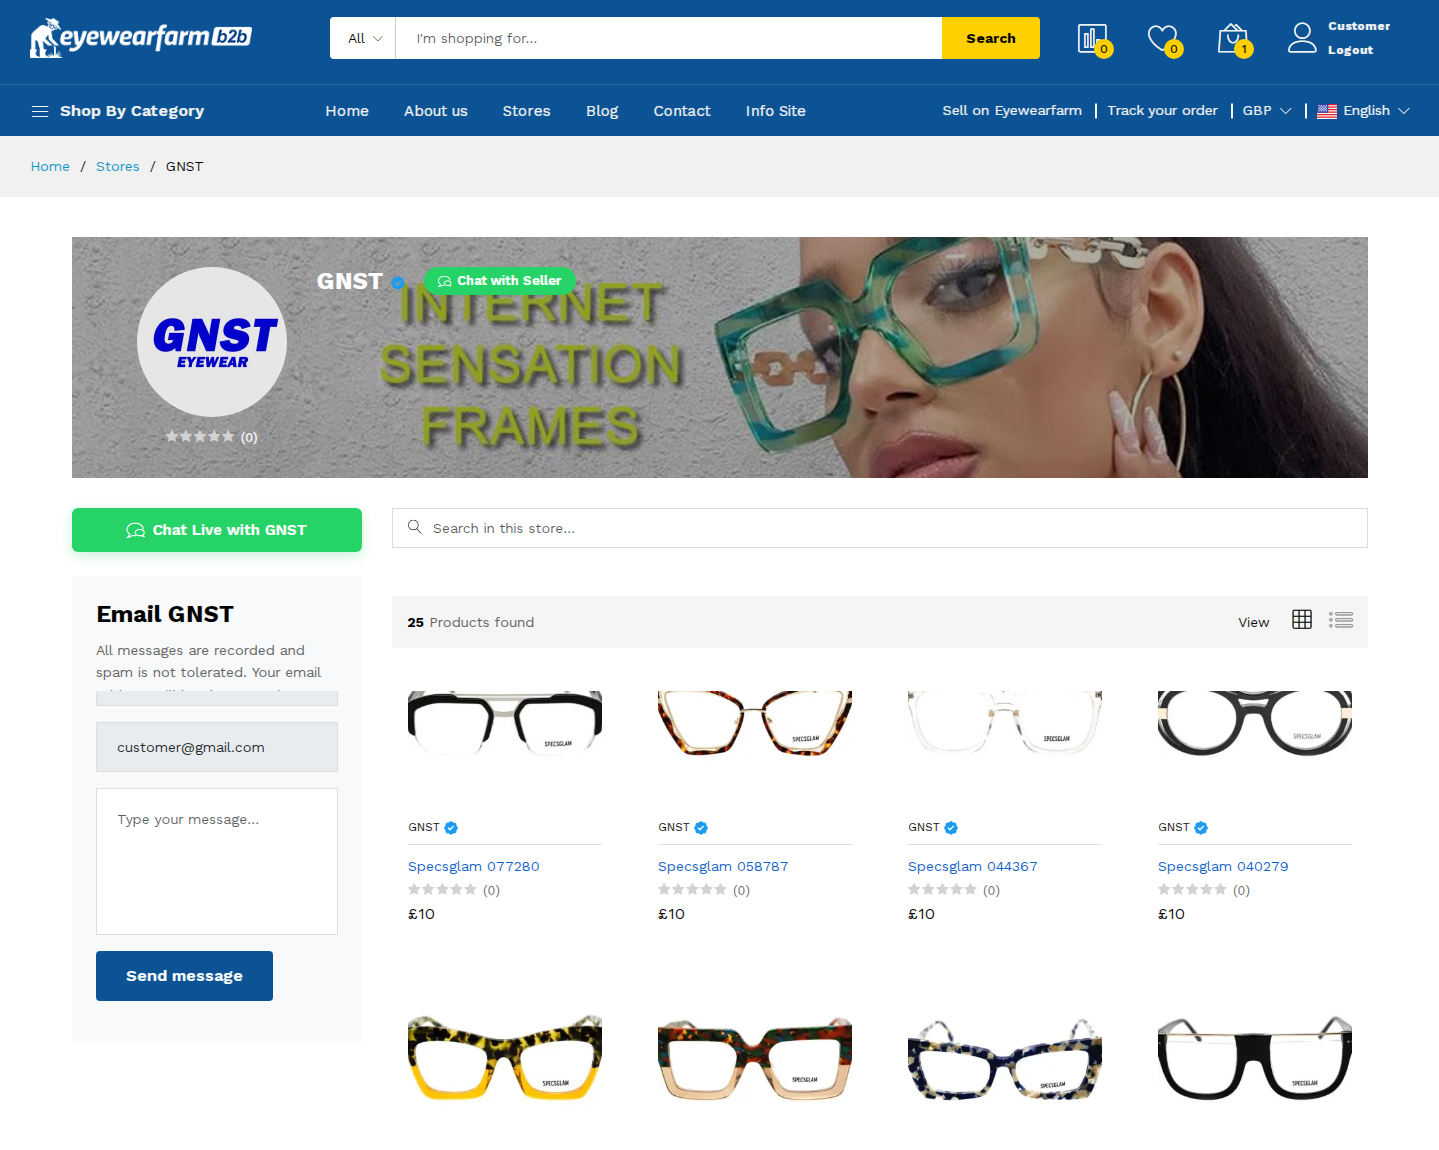
- View Your Public Store: In the top-left vendor profile card, click View your store or visit your custom URL (https://www.eyewearfarm.com/stores/marcus ) to see your branded cover banner, logo, and company description.
- Publish Your Eyewear Products: Navigate to Products → Create Product to populate your shop catalog:
- For standalone single-SKU sunglasses or accessories, follow Guide 01: How to Add a Simple Product.
- For multi-color optical frames (such as Brown and Black colorways), follow Guide 02: How to Add a Product with Variants.